Git-Team-Workflow
Git Team Workflow
A tutorial to learn how to manage a coherent and organized workflow on collaborative team projects with a shared Git repository.
The goal of this tutorial is to practice branching with Git and how you can use branching to manage a workflow that involves multiple developers.
Overview
The team workflow presented here is based on Vincent Driessen’s article “A successful Git branching model” that introduced the “Git flow” pattern, which is now a best practice used by software engineering teams around the world.
In the course of a team project you are likely to apply the steps outlined here several times. You should follow this process on real team projects. Over time, this will make your team more productive while working in parallel.
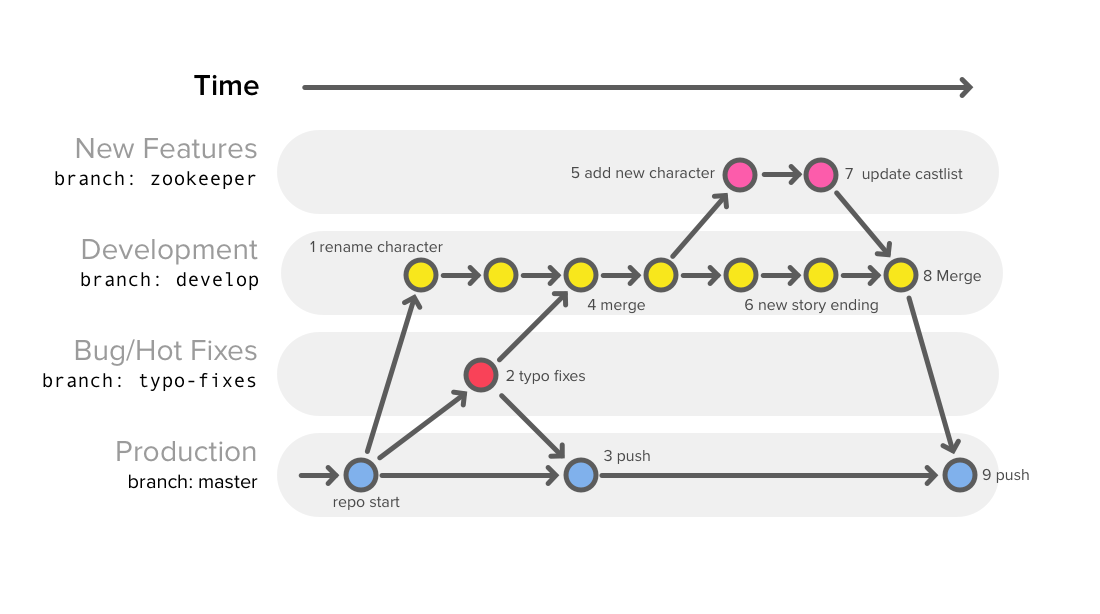
This image shows the entire process described in the instructions below. The process likely appears complex at first, but you’ll do each step below one at a time. As you practice this process with teams, you will master it!
Getting Started
For this lesson you will work alone, but imagine you are working with a group of other developers. Imagine each commit along the way as being added by a different member of your group.
To start this exercise, set up your repo and code editor:
- fork, then clone the starter repo: Git Team Workflow Lab
- navigate to this repo’s directory in your terminal
- open the existing
Script.mdfile in your code editor
then carefully follow the instructions below step by step.
Instructions
You are working on the script for a new movie, “The Unicorn King”. You need to fix typos (bugs) in the script, add new characters (features), resolve merge conflicts and publish (push) the script along the way.
While working on a team, you will create branches to manage team workflow:
- You need to have an always working published Production version.
This is usually the
masterbranch. - Your team will be continually iterating on the Development version.
This is usually the
developbranch. - Team members will also be developing several New Features in parallel
that may sometimes take a while to complete before they are ready to be
incorporated into the Development version.
These are called
featurebranches. - Movie executives (users) may find typos (bugs) in the Production version
at any time, so you need to be able to fix and publish (push) Hot Fixes
quickly without introducing recent changes from the Development version
that are not ready to be published (tested for Production).
These are called
hot-fixorbug-fixbranches.
At any point you may want to merge one or more of these branches together to incorporate changes from several different lines of Development.
Rename Character
The first step is to create a new branch you can use to make small changes to the Development version. It’s important that the changes to this branch are not visible until they are considered ready to be published.
Your goal: Create a new develop branch and rename the character.
This will be the Development version.
- Create and checkout
developbranch:git checkout -b develop - Edit text to rename the young boy “George” to any other name
- Add changes to staging area:
git add Script.md - Commit changes to
develop:git commit -m "Rename George to ______"

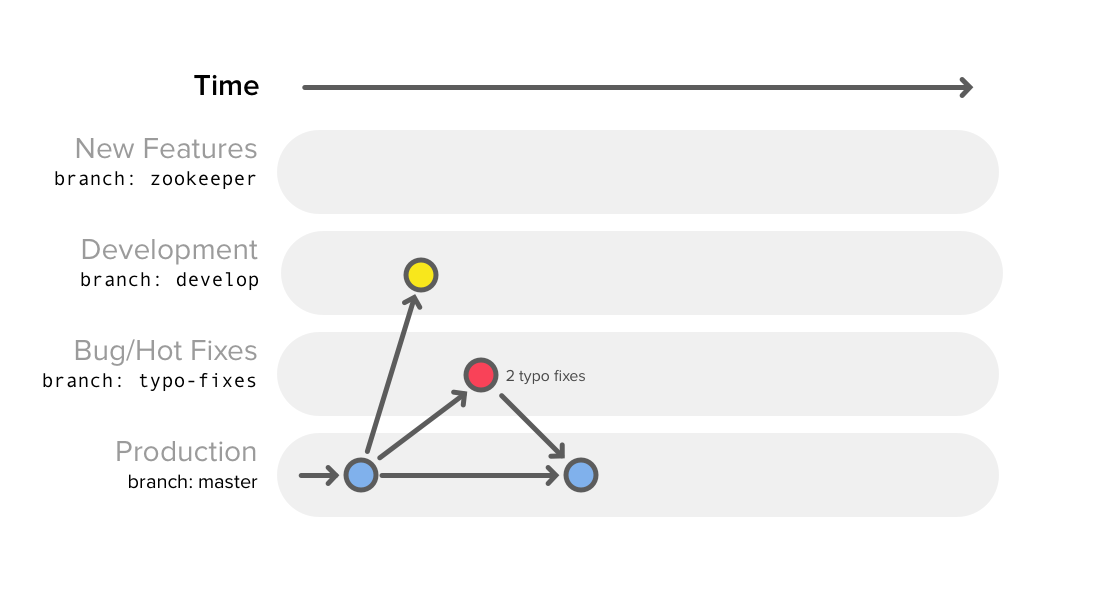
Oh No… Typos!
Sometimes your team will need to fix the Production version of a movie script
(product) that has already been published to movie executives (users).
Since you don’t want them to see the young boy George’s new name just yet,
it’s important to fix the typos in the Production version (master branch).
This is a Hot Fix, so you’ll need to create a new branch off of master.
Check the current version of the project for typos.
- Checkout the master branch:
git checkout master - Create and checkout
typo-fixesbranch:git checkout -b typo-fixes - Edit text to fix typos in the Production version (fix the bugs)
- Stage and commit changes:
git add Script.md && git commit -m "Fix typos" - Skim the script to verify all typos are fixed (test the product)
- Checkout the
masterbranch:git checkout master - Merge
typo-fixesbranch intomaster:git merge typo-fixes - Push to Production (GitHub repo):
git push origin master - View script on GitHub to verify typos are fixed, but young boy is not yet renamed
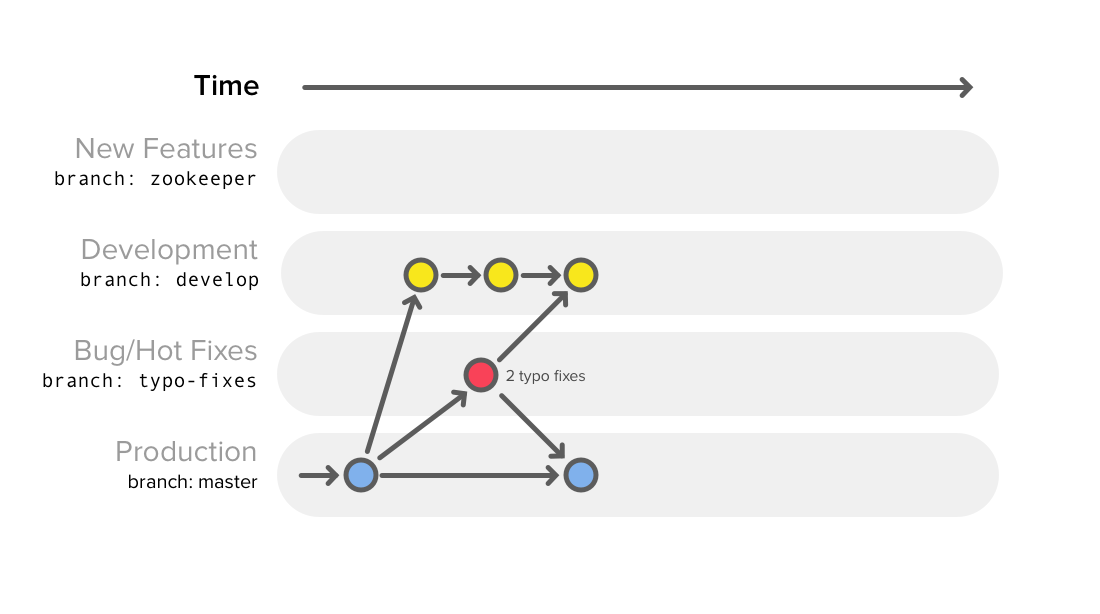
These new changes should be incorporated into the Development version.
git checkout developgit merge typo-fixes
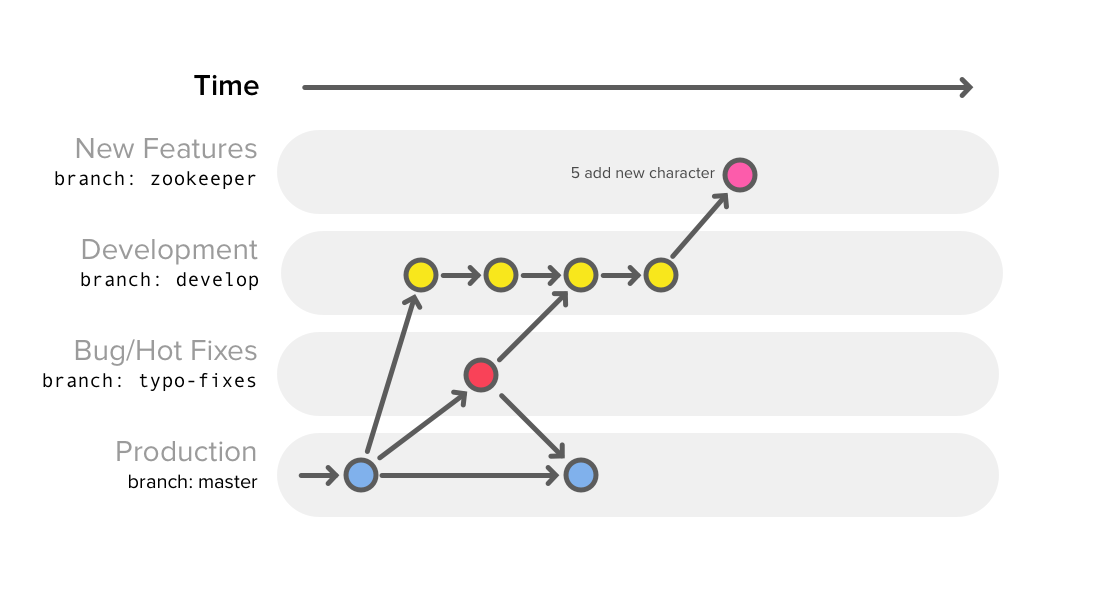
Add New Characters
Your team will be creating New Features frequently. On larger teams it’s safer to keep this out of the Development version until the new feature is fully functioning, which may take a long time.
The producers have suggested that adding a zookeeper to the story would be a good idea. They may change their minds in the future. Probably best to keep this in a new feature branch.
Create a new zookeeper branch where you can incorporate the zookeeper.
- Be sure you’re on the
developbranch:git status- If not, run
git checkout develop
- If not, run
- Create and checkout new branch:
git checkout -b zookeeper - Edit text to add the Zookeeper character to the plot
- Stage and commit changes:
git add Script.md && git commit -m "Add Zookeeper"
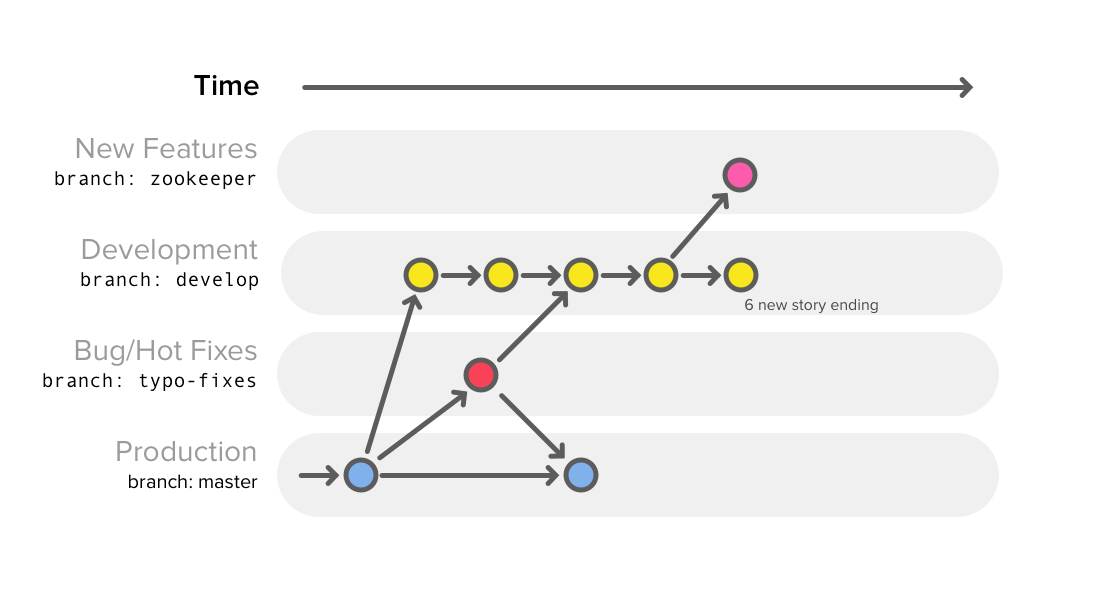
Improve Story Ending
The word from the movie execs up top is that the plot’s conclusion is weak and reviews will be critical. You’ll need to improve the story’s ending.
The current ending is already part of the story (product), so your team is
improving something that has already been written (implemented). Therefore,
this work should be done on the Development version (develop branch).
- Checkout develop branch:
git checkout develop - Edit text of last paragraph to improve the ending
- Stage and commit changes:
git add Script.md && git commit -m "Improve story ending"
Merge new character branch into develop
The new character ideas were approved! Be sure to proof read them before merging them with main story in the Development version.
- Be sure you’re on the
developbranch:git checkout develop - Merge
zookeeperbranch intodevelop:git merge zookeeper
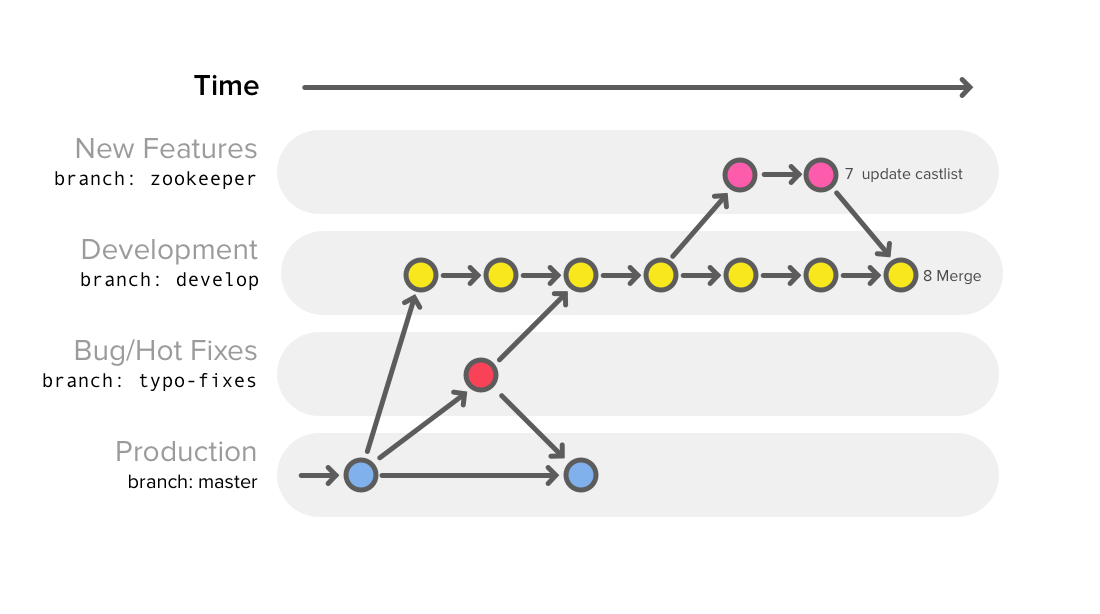
Review new script and ship it!
When releasing a new version of a product, you’ll merge the latest Development version (develop branch) into the Production version (master branch).
- Be sure you’re on the
developbranch:git checkout develop - Code review (read the script once through to catch any errors)
- If all looks good, go to your master branch:
git checkout master - Merge all changes from development branch:
git merge develop - Now ship it!
git push origin master
Excellent work! Now you know how to manage a coherent and organized workflow on collaborative team projects with a shared Git repository.
In the course of a team project you are likely to apply the steps outlined here several times. You should follow this process on real team projects. Over time, this will make your team more productive while working in parallel.
Additional Resources
- Learn Git Branching – interactive tutorial that covers many Git features step by step
- Git to Know Branching – tutorial that covers branching and resolving merge conflicts
- Git cheat sheet – quick reference guide that summarizes many Git commands on 2 pages
- A successful Git branching model – Vincent Driessen’s article that introduced the “Git flow” pattern presented here, which is now a best practice used by software engineering teams around the world